Upload asset files
Learn how to upload assets in CMS Lite.
On this page
Guidelines for uploading and replacing assets
Assets must be both uploaded and published
Uploaded assets are automatically saved to the QA server. You must also publish the assets, or they will not be available on the published page.
If you are replacing a published asset, remember to re-publish the asset for the new one to appear on the published page.
Examples of unpublished asset issues
- If a page links to a PDF file that has been uploaded but not published, a Page Not Found error message will be displayed when the link is selected.
- If an image has been inserted into a page, but the image has not been published, the image will not be displayed.
File naming guidelines
File names should always be in lowercase with no special characters (i.e. @#$%). System validation will replace all spaces with underscores and all capitals with lowercase characters.
Asset type restrictions
When an upload contains both valid and invalid files types, only the valid file types will be uploaded.
If you attempt to upload an invalid file type, an error message will be displayed: 'Invalid file type for asset xxxx.xx. File with xx extension is not allowed in CMS Lite.'
The following asset types cannot be uploaded into the CMS Lite:
- shtml
- html
- htm
- js
- css
- php
- jsp
- json
Handling duplicate file names
If a file with the same name is uploaded into two different asset folders, each will be assigned a unique ID (GUID). This is designed to ensure that other files with the same name (i.e. org-chart) are not accidentally overwritten.
To overwrite an existing file, make sure to upload it into the same folder. Learn how to replace existing assets.
- If you don't know where the file is stored, use the Asset filters to search for the location
How to upload or replace assets
Use the Upload File(s) action to add a new asset to the CMS Lite, or replace (overwrite) an existing asset.
Watch the video tutorial
Create asset folders and upload files
Step-by-step instructions for B.C. government content editors on how to create asset folders and upload assets using the CMS Lite application. Review Create an Asset Folder and Upload Assets for the most current information.
Read the step-by-step instructions
- Navigate to the location in the Asset Navigation where the assets should live
- Click on the Asset Folder title
 to select it
- Click the drop-down Action menu and select Upload File(s)
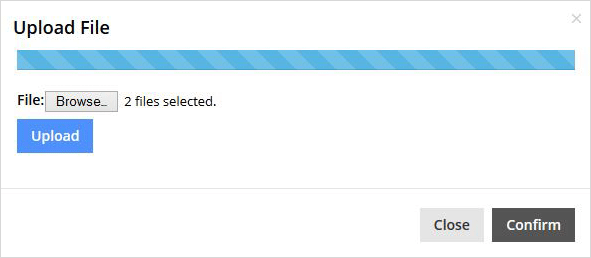
The Upload File box will be displayed


- Click the [Choose Files] button
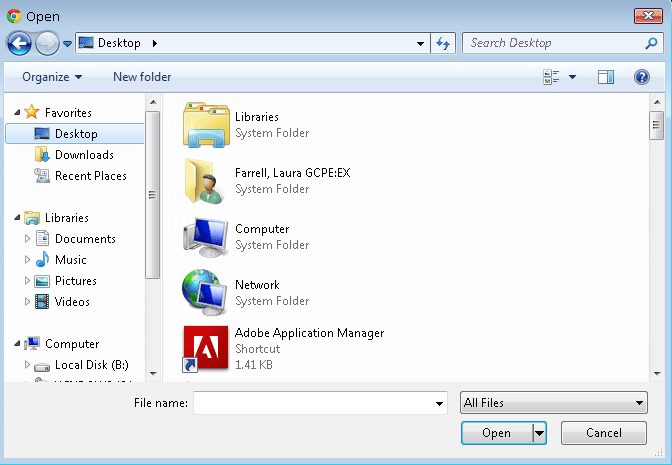
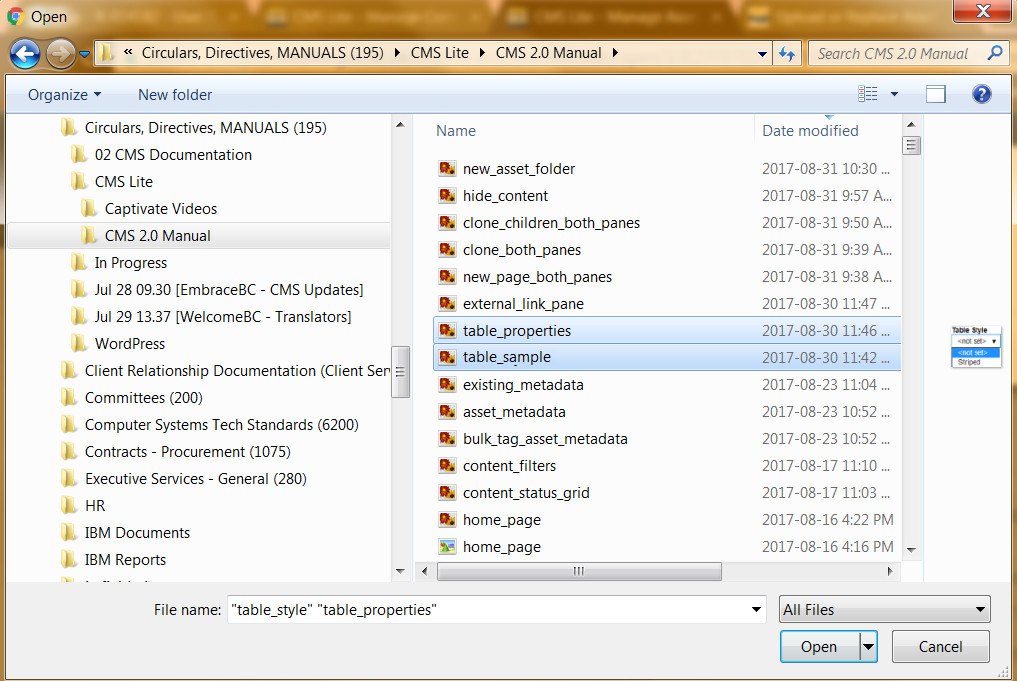
The Choose file box will be displayed

- Navigate to the applicable file(s).
Select a single file, or hold the Shift or Ctrl key down to select multiple files
- Click [Open]
The Upload File box will be re-displayed indicating the number of selected files


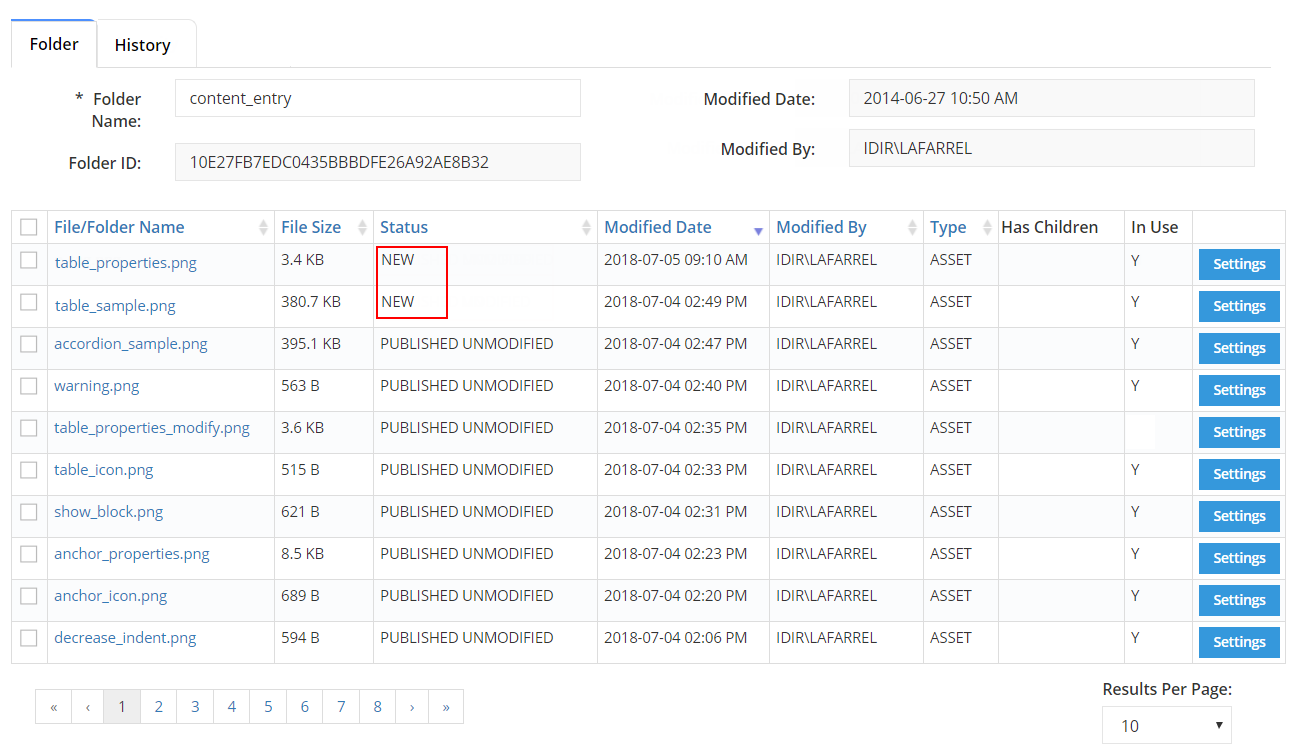
- Once the upload is complete, select the Folder tab in the Asset Folder Pane
- The assets are listed in a NOT_PUBLISHED status
When you are ready, you must publish the asset to have it available on published web pages.

