Supplemental content - Subscribe box
Use the Subscribe component to notify users of changes to a specific web page.
On this page
Managing page subscriptions
How subscriptions work
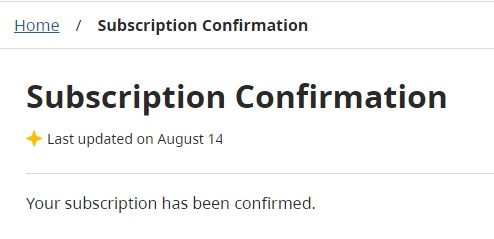
When someone subscribes to a webpage, they'll get an email asking them to confirm their subscription. After they confirm, they join a list of people (called a distribution list) who get updates about that page. Every webpage has its own list.
If someone decides they no longer want updates, there's a link in every subscription email to easily unsubscribe.
Important tips for content managers
Choosing pages for updates
Think carefully about which webpages really need to send out updates. Also, consider how often you send these updates to avoid overwhelming subscribers with too many emails.
Box placement
The box has been moved from the right column to the bottom of the page.
The Subscribe box is recommended to appear as the first (top) supplemental content box.
Removing the subscription feature
Let the GDX Service Desk know if you plan to remove the subscription option from a webpage, or unpublish or delete a page. They'll help remove the associated distribution list. Contact them at GDX.ServiceDesk@gov.bc.ca.
Who can send updates
Only those with permission to publish content in CMS Lite can send out update emails to subscribers.
Do not use alternative methods
To ensure a consistent presentation and experience for citizens, only use the Subscribe component to notify users of page updates. People can only subscribe using their email addresses; subscribing with a mobile phone number isn't an option.
Notifying users about asset updates
The Subscribe component does not apply to assets at this time.
What the subscriber sees
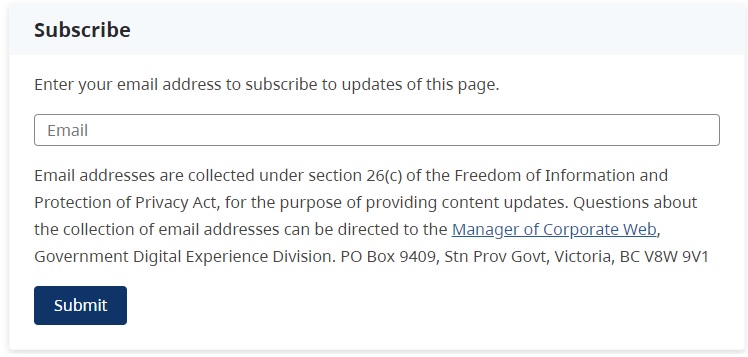
How to subscribe to a page
To subscribe to a webpage, the user will:
- Enter their e-mail address into the subscribe box
- Get notified of an incoming e-mail and the requirement to complete the subscription process
What update e-mails contain
When an update happens, the user will get an e-mail with:
- A link to the updated page
- The custom message to page subscribers
- An link to unsubscribe from updates, if desired
Add a subscribe box to a page
Creating a subscribe box
- Select the Right Column tab
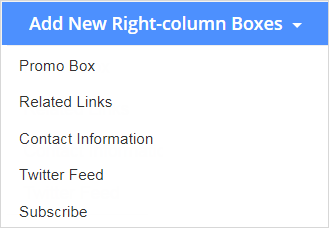
- Click the [Add New Right-column Boxes] action button and choose Subscribe from the drop-down list
The Subscribe component will be displayed
Note: The text is hard-coded and cannot be edited
- If applicable, move the Subscribe component to the top position
- Click the [Save] and view the page in QA for accuracy
Editing and reordering supplemental content boxes
When editing an existing page with supplemental content boxes (previously right-column boxes), the components will initially be collapsed:
- To expand/collapse the component: Click on the Item Control Bar
- To remove a component: Click the delete icon

- To reorder the components: Hold the left mouse button down on the Item Control Bar to drag and drop
Publishing and notifying users
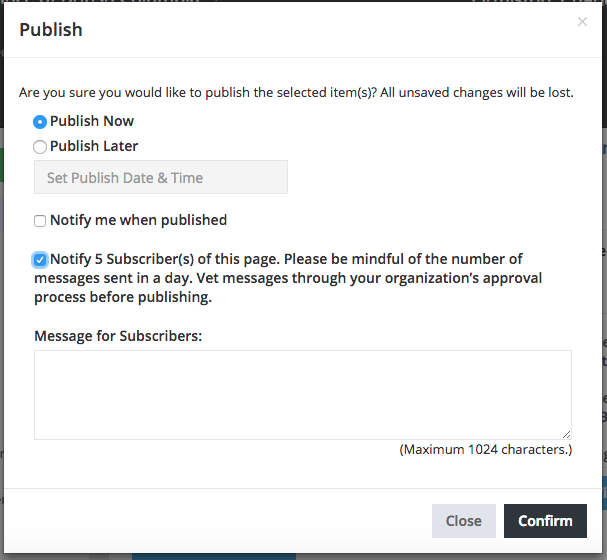
When a Subscribe component is attached to a page, the Publish box will include an additional checkbox.
When the page is published for the first time with the Subscribe component, disregard this checkbox as there will be no subscribers at this point.
- Update web page with required changes and [Save]
- Select the [Publish] action button to send out a notification of changes to the page
The Publish box will be displayed with the Notify Subscribers checkbox
- Leave the default set to Publish Now, or select the Publish Later radio button and select an applicable date and time
- If the content change warrants notification:
- Click Notify Subscribers of this page checkbox
The Message for Subscribers text field will be displayed
- Enter a message to be sent to subscribers in Message for Subscribers field (note 1,024 character maximum).
Do not use special characters in the message
- Click Notify Subscribers of this page checkbox
- Click [Confirm] to complete the action
The Publish box will be closed, and a message will be displayed in the top-right corner of the screen "The Publish Job has been created and contains xx item(s)"
View notification history
Once the publish job has completed, an email message will be sent to all subscribers, and the message will be recorded in the History tab.
Link to a subscribe box
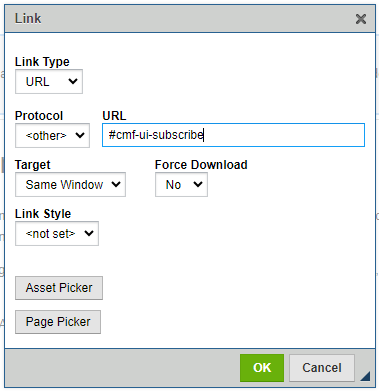
The "Subscribe" box has a built-in ID, which means you can link to it the same way you'd link to an anchor you manually added.
The anchor name is #cmf-ui-subscribe
